ART SHOUT OUTS! #1

With remote learning well underway, I thought I’d share the artwork students have been emailing me while creating art from home!

I, along with the two AMAZING elementary art teachers in my district (Kim and Sarah YOU ROCK!), have been collaborating on creating weekly art activity suggestions for our students. One weekly art activity suggestion for grades K-2 and one weekly art activity suggestion for grades 3-5.

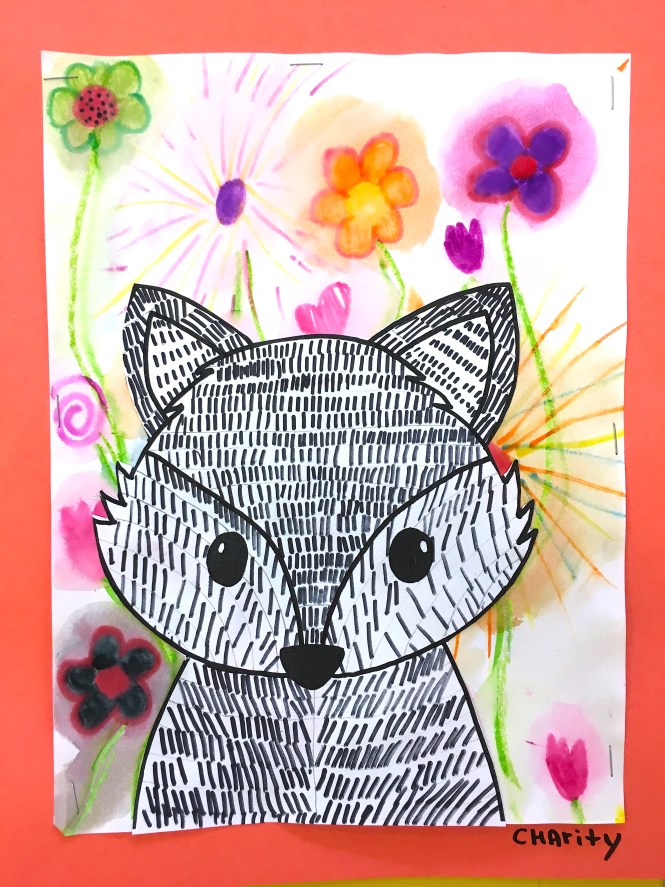
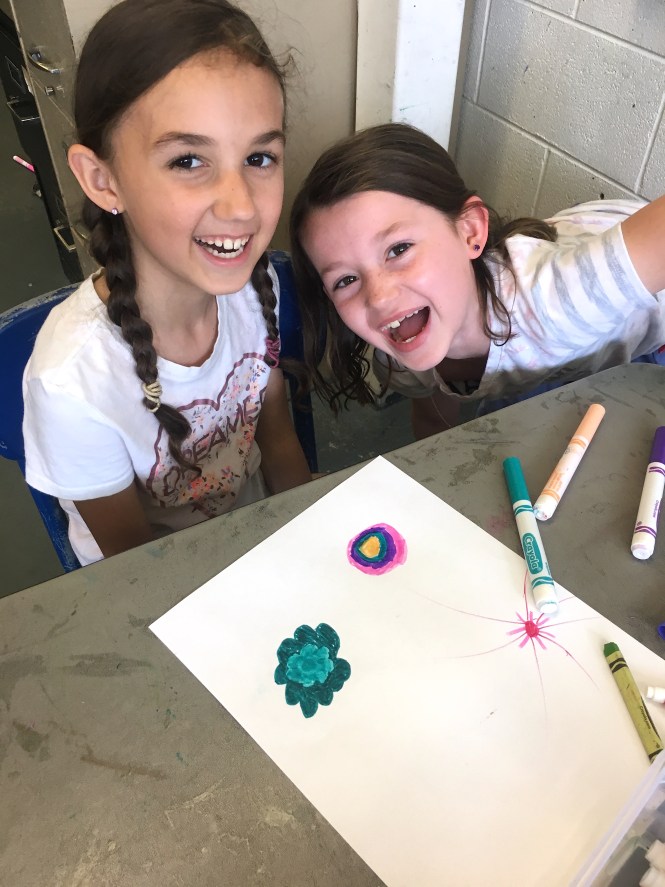
I’ve gotten a bunch of artwork via email from my students. Awesome work guys! Keep creating!

Some artwork below was created using one of our art activity suggestions for inspiration and some they came up with on their own.

Students below created some excellent positivity posters to hang in their windows in their homes. This was one of the 3-5 art activity suggestions “I can design: A Kindness Poster!” Create a positive motivational poster to send encouragement to others in the world around you. Then, display your poster where you live. You might even hang it in a window to send a positive message to others!”

Here are some sculptures made from nature inspired by the artist Andy Goldsworthy! This was one of the 3-5 art activity suggestions “I can create: A Sculpture made from nature” Go on a nature scavenger hunt and collect natural materials. Arrange them in a symmetrical design. Take a photo and show off your design!

This was one of the K-2 art activity suggestions “I can Build: A Robot Using Recycled Materials” Create a shape robot using any cardboard you are able to use. Cereal boxes and cracker packaging work well!

Below are some aliens students created. This was one of the K-2 art activity suggestions “I can Create: Draw your own alien” What shape is the body of the alien? How many eyes does your alien have? Does your alien have scales, fur, or something else? What name would you give it?

This student created a cool 3D alien from materials around the house!
This student had fun creating their alien from clay and pipe cleaners!

Below are from one of the K-2 art activity suggestions “I Can Create: Draw a picture of how you would look at age 75?”

These two students used a variety of materials creatively to create themselves at 75!

Below are two students that drew along with me in my YouTube video on “How to Draw 2 Dogs on a Hill”! Nice work!!!

Here’s some more artwork students created!

I will be adding more student artwork very soon!

Students: If you would like to share anything you have created at home please send them to me! I’d love to see it and will post it here on my blog! Email me at mfilmore@naschools.net

Can’t wait to see what you all create!!!!

Take care everyone

Continue Reading

SPRINGTIME BUNNY, BEAR OR FOX! 2nd Grade

How adorable are these?!?

This lesson took (2) art classes to finish (and I had JUST enough time to squeeze in one more lesson before the end of the year)! It’s a simple one —but packs in a bunch! It incorporates the Elements of Art- Line, Shape, Color, Value and Texture! We also used overlapping, contrast and pattern in our work!  Students could choose between creating a bunny, bear cub or fox.

Read below the photos of student’s artwork to see how they were created and how to get FREE bunny and bear templates!

The fox template was clearly the most adored by my 2nd graders!

DAY 1 – Creating the field of flowers background!

Students drew flowers all over their 9×12″ 80# drawing paper using markers and crayons. They were encouraged to draw the flower heads LARGE and draw LOTS!! Especially along the top and sides, since later on the animal would be placed over their painting in the center.

I demonstrated a bunch of different ways to create the flowers first, but students could draw them any way they wanted! I also encouraged them to use bright colors.

Once their paper was filled, they drew green stems from each flower head going all the way to the bottom, using a green crayon as well as a green marker for each one. 

Once all the flowers and stems were drawn, using just water on a paintbrush, they went over each flower with water. This turns the marker into almost a watercolor consistency. I showed them how to just do one flower at a time then rinse their brush before moving onto the next so the colors wouldn’t get muddy.

Then students went over all their stems with water. The crayon part of the stems would remain a solid line since crayons resist water. We talked about the Element of Art “Value” and how the colors of the flowers would get softer and lighter in value once water was applied.

DAY 2 – Adding the animal!

Students chose a bunny, bear OR fox template to start drawing lines with sharpie to add TEXTURE!

I downloaded and photocopied the free bunny template from a website called Teachstarter found HERE . I created the bear one myself and made copies for kids, which you can get for free on my Teachers Pay Teachers page HERE. The fox template was created by an art teacher (Mrs. Bohn from McLeansville Elementary Art, via Instagram) who shared her fox drawing template with me!

I demonstrated how to draw straight and diagonal lines close together in between each section using sharpie. Students could leave the eye area as it was, or go over the bunny lashes and create longer lines. We discussed how the lines created fur- like TEXTURE. We also discussed how the black & white vs. the colorful flower background would create CONTRAST.

Once all the lines were drawn, students carefully cut out their animals and glued onto their flower background with a glue stick!

I just LOVE how simple yet beautiful this lesson is! Plus, kids continue to understand how they are applying the elements of art while creating!

Thank you for stopping by! To view other grade level artwork, click on the drop down menu on the main page, and select a grade to view more student art!

I will be posting again next week on 5th Grade “Grid Drawings” inspired by artist Chuck Close, and 4th Grade “Enlarged Flower drawings” inspired by artist Georgia O’Keeffe!

Be sure to check back soon!

Continue Reading

WATERMELON WEAVINGS! – 1ST GRADE

I can’t get over how ADORABLE these weavings are!!!! I LOVE them!!

I absolutely LOVE these fun watermelons!!! Thank you Nichole ( Mini Matisse) for sharing this wonderful lesson! My students loved creating them!

STEP 1: Creating the loom!

Students folded a sheet of 12×18″ red construction paper in half. They turned the folded paper around so the opening was at the top. Then they drew a horizontal line all the way across the top, and wrote their name above that line.

After that, they drew a short vertical line along the line where they wrote their name, starting in the center, then finding the halfway points between the center and to both the right edge and left edge of their paper. Then splitting those areas in half again and drawing 4 more vertical lines like below.

Then they drew straight vertical lines from those marks to the bottom

Then they cut along each of those lines, making sure to stop at the top horizontal line like below

STEP 2: Weaving the pink strips!

Students opened up the red paper, (the loom) horizontally, and wove 1″ x 12″ cut strips of pink paper all the way across creating a tight weave.

1st graders learned how to go over and under each horizontal cut red strip with their pink vertical strips of construction paper and noticed how it created a checkerboard pattern!

The trickiest part of this step was to be sure to reverse the pink strip every other time they wove. If the very first pink strip started on TOP of the red (like pictured above), they had to start weaving the next pink strip underneath the red, then the following pink strip started ON TOP of the red and so on so forth…. all the way across.

Art educator, Nichole Hahn’s Mini Matisse Blog had an awesome and easily explained video my students watched for this lesson. Click HERE to check it out from her blog!

Here they are watching it!

Students could choose from pink strips, magenta strips or a combo of both!

If students finished early, they became my teachers assistant and helped kids that wanted help weaving! It was so sweet and nice to see friends helping one another out!

Once all the pink strips were woven in the red loom, they glued the pink tabs along ALL the edges (both front and back) with a glue stick. This helps make sure the strips woven in won’t fall out or move out of place.

STEP 3: Adding the rind and seeds!

Students drew a GIANT letter U along a piece of 12×18″ green construction paper with pencil. Then cut out and glued to the weaving using a glue stick. Students applied glue heavily to the rind and pressed for 5 seconds to make sure it was stuck on!

Then they cut along the edge of the green rind, cutting off the extra watermelon weaving to create the watermelon shape!

For the final touch, students added watermelon seeds within each pink strip with a black sharpie!

I hope you enjoyed reading this blog post!!

More artwork coming up REAaaaaaaL SOOOooooon from 2nd grade (“Springtime Bunny, Bears or Foxes”) , 4th Grade (“Enlarged Flower Drawings”) inspired by artist Georgia O’Keeffe, and 5th Grade (“Grid Drawings”) inspired by artist Chuck Close !! Check back soon!

Continue Reading

Mixed-Media Flowers! Special Education

How adorable are these!! I love lessons that incorporate mixed-media and 3D elements!

This fun mixed-media lesson took 2- (40 min.) art classes to complete.

DAY 1

On a sheet of 9×12″ tagboard, with a pre-drawn horizontal line drawn near the middle of the paper, students colored each section using the side of an oil pastel. We used 2 different colors, one for the top section and one for the bottom section.

Then students painted over each section with liquid tempera paint.

Then we used a texture comb created from a recycled plastic gift card to scrape the paint while wet, to create various lines and texture!

We set them aside to dry, then began creating the model magic flowers.

Students started off with a small piece that they rolled into a ball, then pressed slightly to flatten it a bit. We used scissors to cut small triangular sections out all around, then pinched the ends to create the flowers petals.

The left over model magic that was cut out, was rolled into very small balls and flattened to make the flowers centers.

A green pipe cleaner was inserted into the flowers for the stems, and they were set aside to dry completely, until the following week!

DAY 2

Students painted their flowers with liquid tempera.

Then they painted a paper towel tube that had been pre- cut into smaller pieces.

The flowers and tubes were set aside to dry. Once dry, I hot glued the paper towel tubes to their painted papers, as well as their flowers and voila! A lovely project for springtime, with tons of color and texture!

Lesson inspiration from Cassie Stephens – Thanks Cassie!

UP NEXT!! I’LL BE POSTING THE FOLLOWING VERY SOON! …..

3RD GRADE – Matisse inspired Organic Shapes Collage

2ND GRADE – Springtime Bunny, Bear or Fox!

1ST GRADE – Watermelon Weaving!

Thanks for visiting my blog!

Continue Reading